Standing rib roast is one of Chip’s favorite things to cook, especially for a holiday meal with the family. In spite of the fancy name, it’s basically a roast that the butcher would normally slice up to make ribeye steaks. But in this case, we season and roast the entire thing, instead. Entirely delicious!
Standing Rib Roast
Serves four adults
It takes about 3 hours to prep and cook this roast, most of which is time in the oven, but we guarantee it’s worth the time spent!
1 rib roast*
3-4 tablespoons of olive oil
Sea salt (to taste)
Pepper (to taste)
Six sprigs of fresh rosemary**
4-6 fresh garlic cloves
*NOTE: For four people, Chip typically gets a roast that is just under 6 pounds. This leaves him with some meat and trimmings left over that can be used to season other dishes. Pick a cut that is either very lean, or one that you can trim readily.
**NOTE: We grow rosemary ourselves, but you can also buy fresh sprigs at most grocery stores. Chip typically spears in about 1 sprig per person, plus two more that he de-stems and puts into the rub itself.
Trim your cut of roast down and set those fat trimmings aside (if you plan to use them to season something else). Rub the roast down with a couple of tablespoons of olive oil.
Next, salt and pepper the outside of the roast to taste. We use sea salt for this because of its more complex flavor.
Take your rosemary sprigs (four of them if you are cooking for four people) and cut the tips down to a point, Then spear those into the roast. (See photo below) Take the other two sprigs, remove the leaves and put them in a bowl.
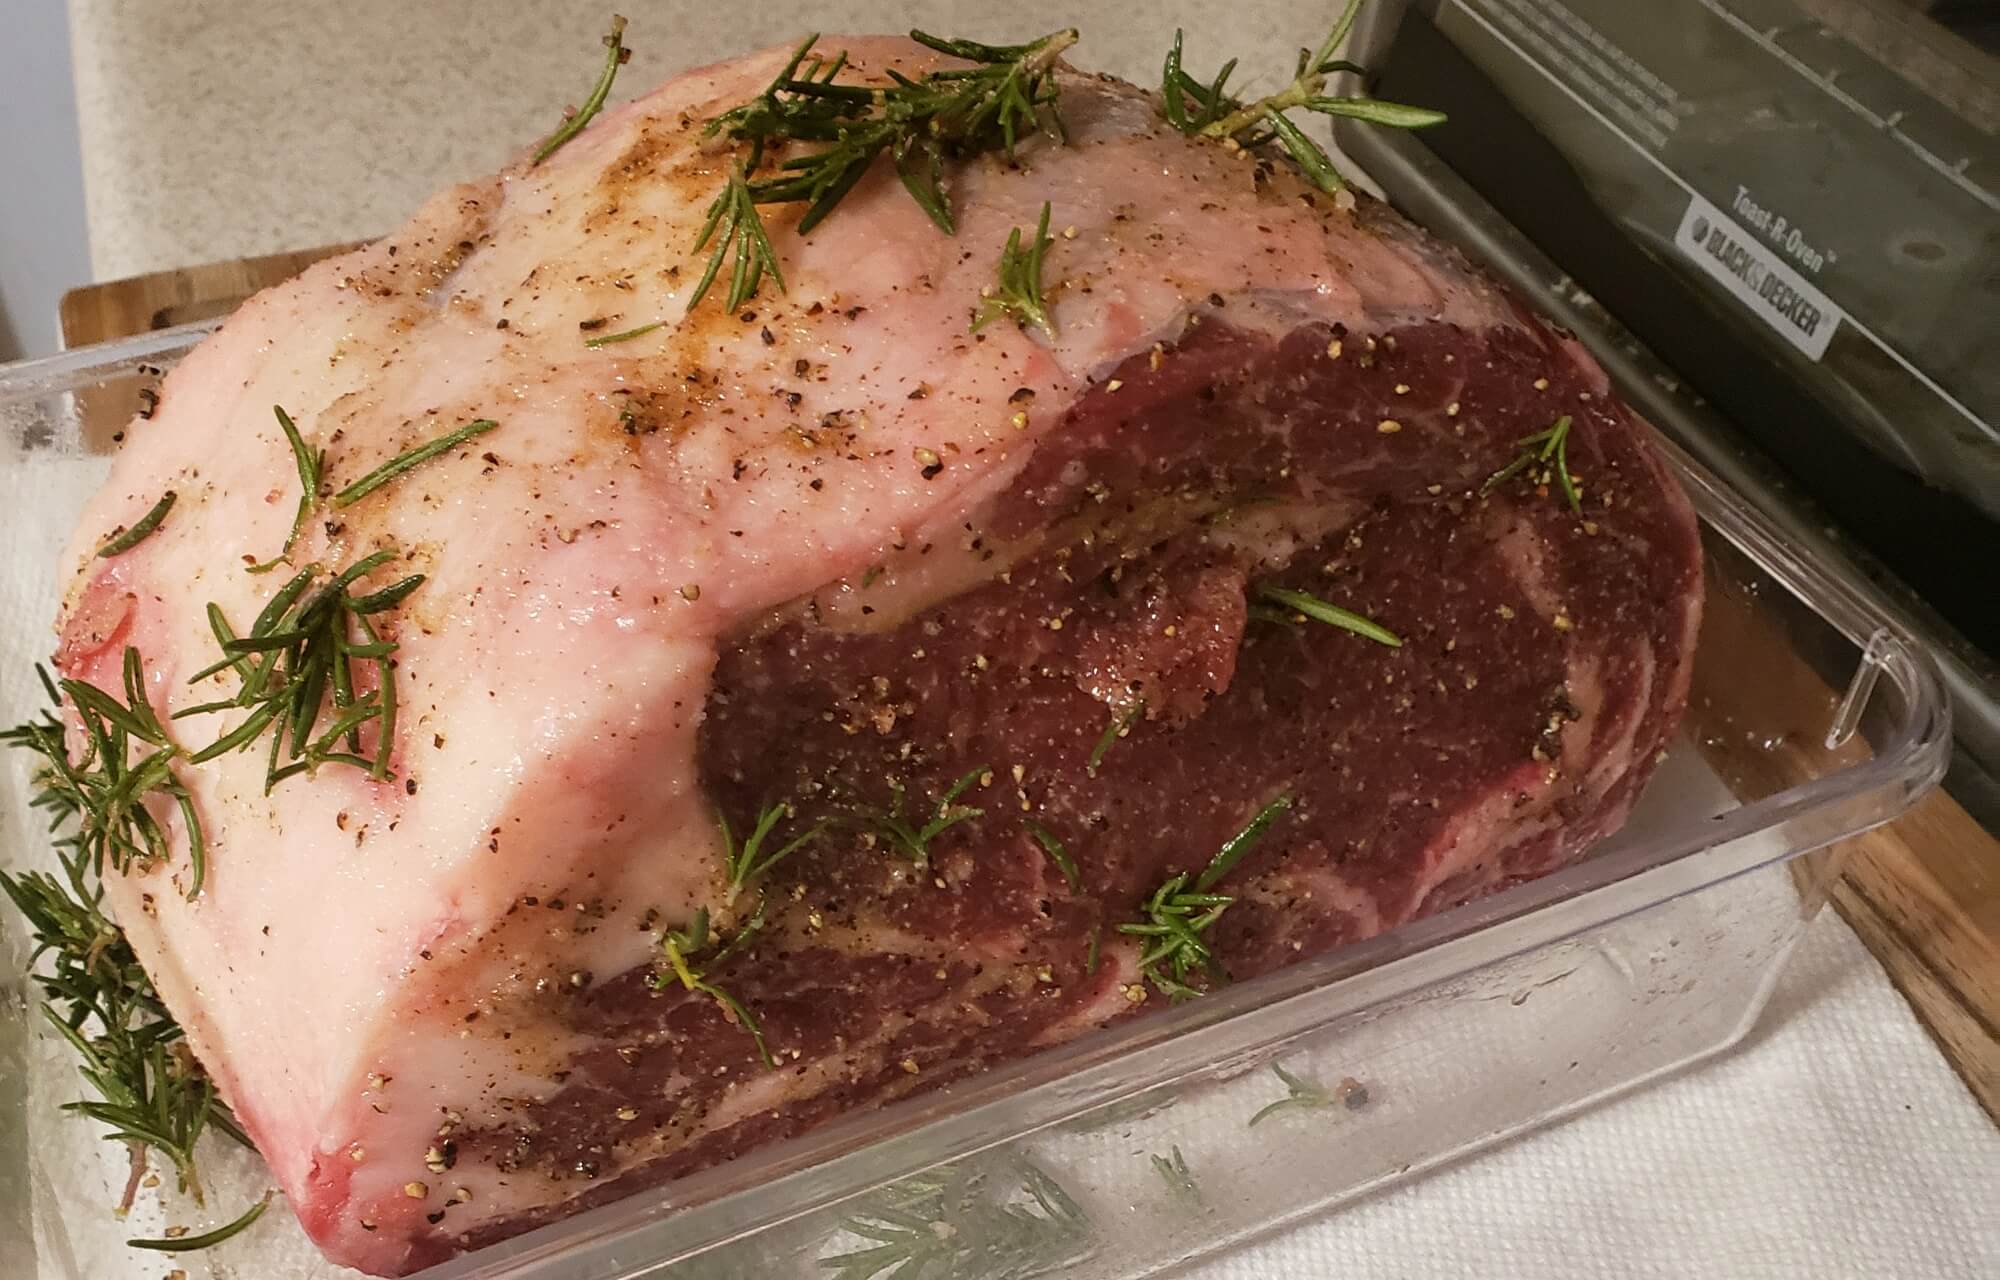
Press 4 to 6 cloves of garlic and add those to your bowl with the rosemary leaves. Then, add one tablespoon of olive oil to the bowl. Mix everything together and then rub it over the roast.
Preheat the oven to 475ºF.
Put your roast on a roasting rack over a roasting pan (to catch the melted fat) and put it in the oven for 20 minutes to sear everything. Take it out. Reduce your oven’s heat to 250ºF. Wrap the roast in foil and put it back in the oven.
After 30 minutes, check the temp of your roast with a meat thermometer and keep checking it until it reaches the level of doneness you prefer. For us, we prefer medium, which is very forgiving and which most people like. We get medium when the meat thermometer is around 140ºF in our oven at home.
Once it’s achieved the desired temperature, take it out, unwrap it and put it back in the oven for 5 minutes to remove any excess water.
After you take your roast out, let it rest for about 10 minutes before serving.